Setup Low Disk Space Alerts
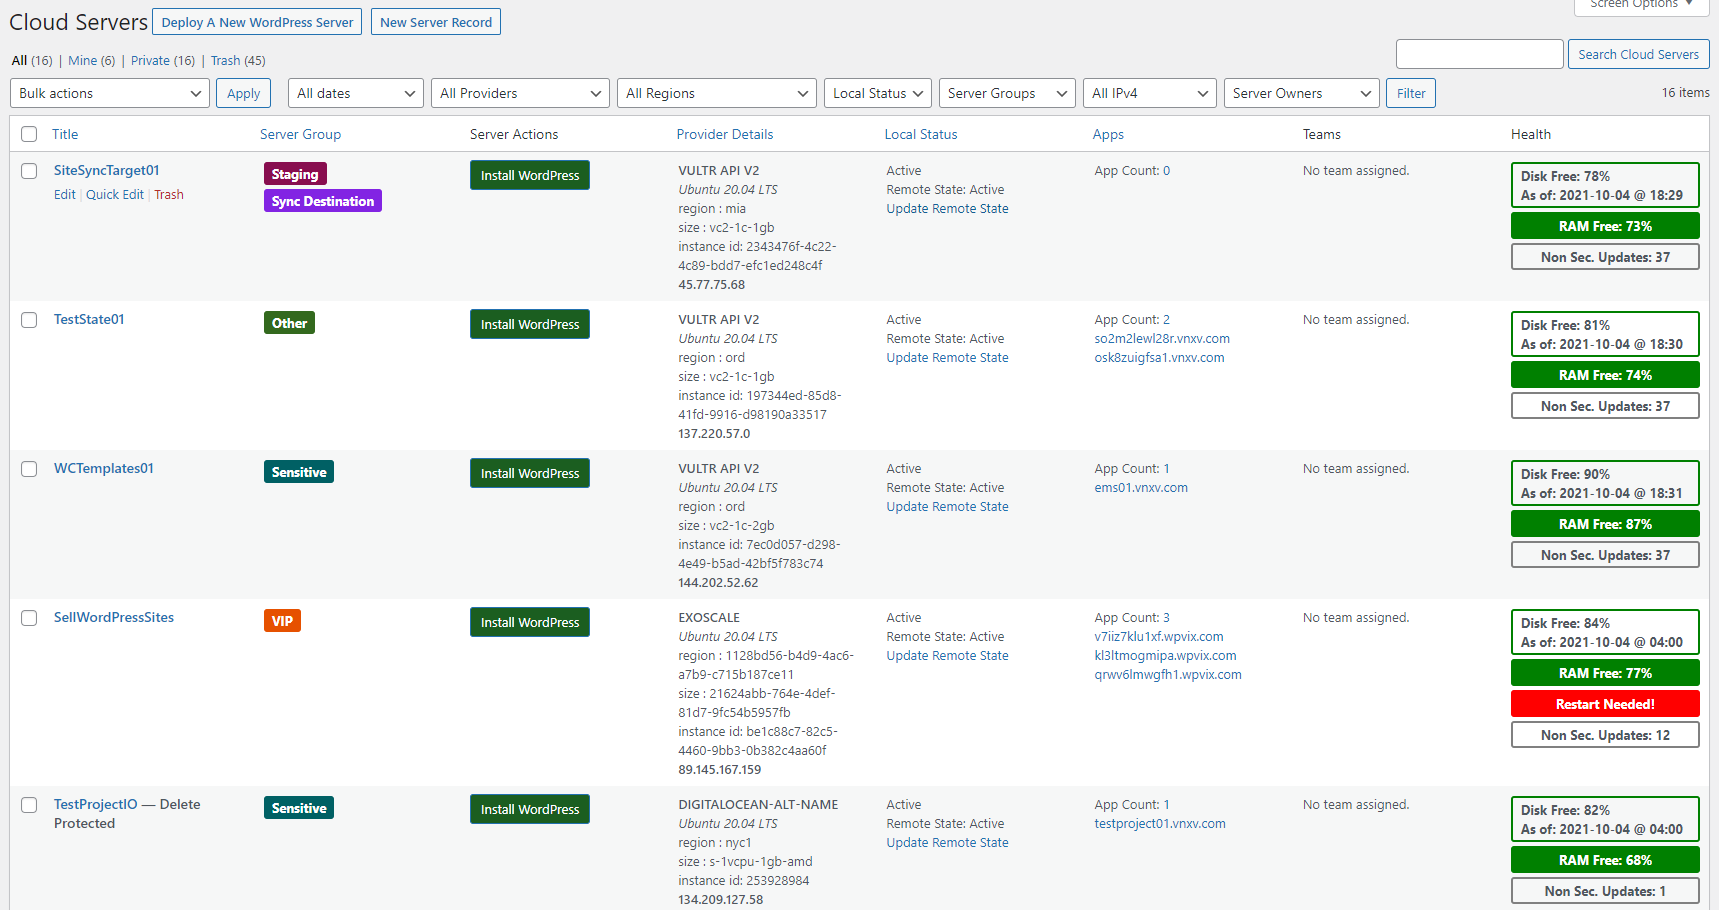
Every evening, WPCloudDeploy is updated with the amount of diskspace remaining on each server. You can see this information in the HEALTH column in the server list. (The HEALTH column is usually the last column in the server list as seen in the image below).
However, this information isn’t automatically sent to site administrators. If you want to be notified when the remaining disk space drops below a certain level, you need to setup notification profiles.
Setting these up is a three step process:
- Setup email notification template
- Setup notification profile
- (optional) Configure low-disk threshold that will trigger alert
1. Setup Email Notification Template
The default email notification template is blank and no notifications will be sent (even if you set up a notification profile). To update this template:
- Navigate to WPCloudDeploy → Settings → APP:WordPress Settings tab
- Click on the EMAIL NOTIFICATIONS tab on the left side
- Setup a subject line – for example:
WPCD ##TYPE## for server: ##SERVERNAME##
Setup the body of your message. For example:
##MESSAGE##

Server: ##SERVERNAME## - ##IPV4##  - ##PROVIDER##

Site: ##SITEID## - ##DOMAIN##

Reference: ##REFERENCE##
- Click the SAVE SETTINGS button at the bottom of the screen
- (optional) Setup the same or similar information in the SLACK NOTIFICATIONS and/or ZAPIER NOTIFICATIONS tab(s)
2. Setup Your Notification Profile
We place a lot of data into the SERVER ALERTS → NOTIFICATIONS screen. A notification profile controls which of the items in this screen triggers an email/Slack/Zapier notification.
- Navigate to SERVER ALERTS → NOTIFICATIONS → PROFILES
- Click on the NEW USER NOTIFICATION button at the top of the screen
- Give the notification a name – something such as “Low Disk Space”
- Enter the email addresses that will receive the notification and, optionally, Slack webhook addresses
- Scroll down to the bottom section SELECT NOTIFICATION REFERENCES
- From the list select DISK SPACE AVAILABLE
- Click the PUBLISH button in the upper right of the screen to save the profile.
3. (Optional) Configure low-disk threshold that will trigger alert
By default, when disk space available falls below 15%, the email configured above will be sent. You can adjust this threshold as follows:
- Navigate to WPCloudDeploy → Settings → APP: WordPress Settings tab
- Click on the ALERTS & NOTICES tab on the left side
- Set the LOW DISK SPACE % field to your desired value
- Click the SAVE SETTINGS button at the bottom of the screen
Test Your Settings
For testing, you might want to temporarily set the LOW DISK SPACE % field mentioned in section 3 above to something relatively high such as 99%.
Then, run callbacks for a server using the RUN NOW button on the CALLBACKS tab of any server.
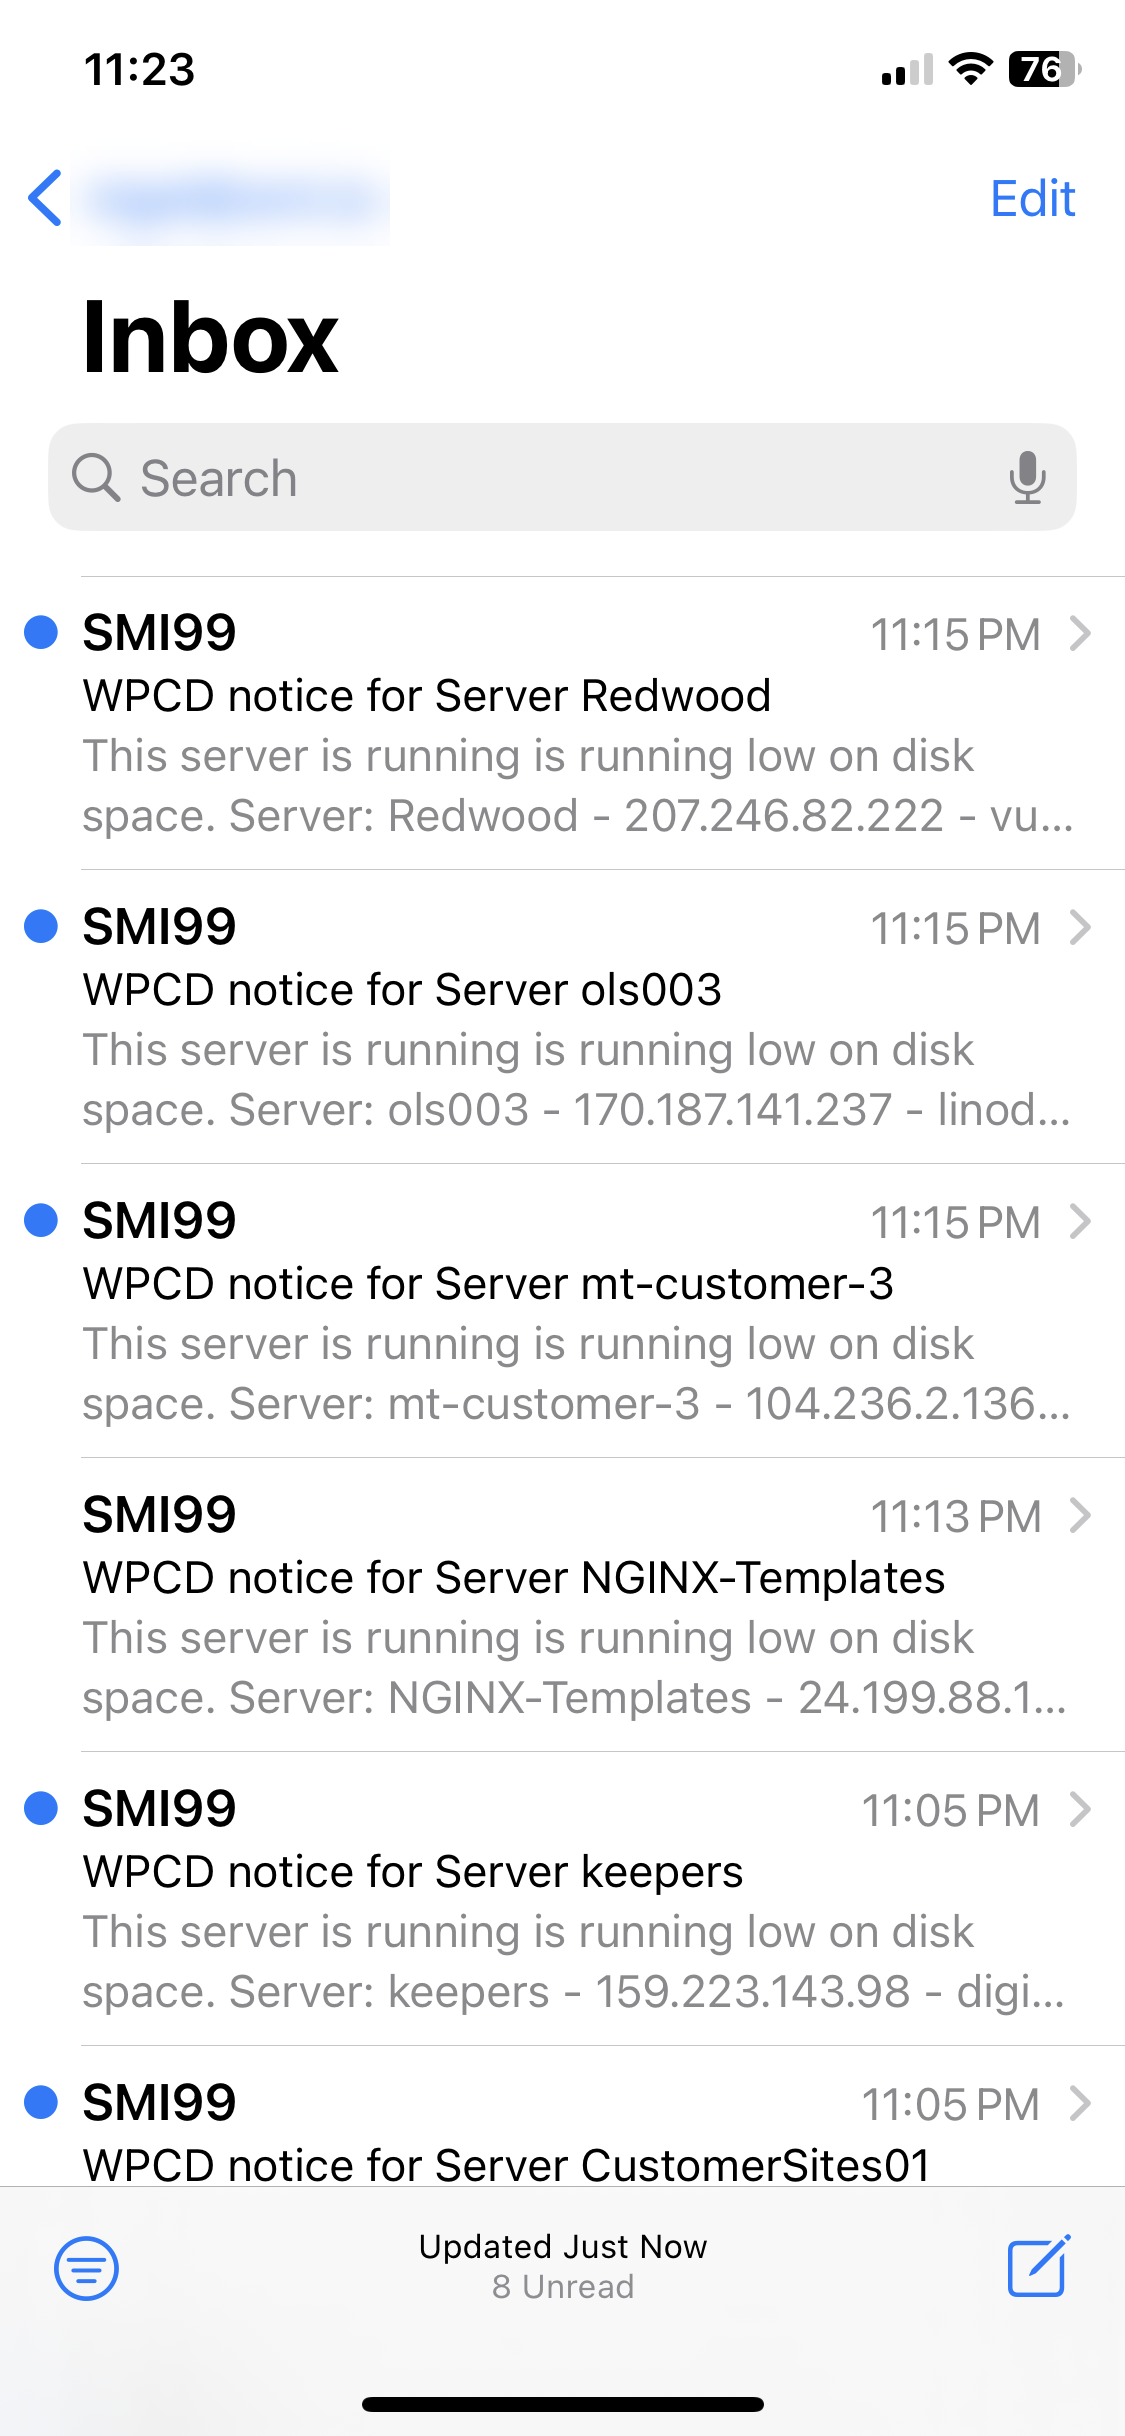
Here is a sample of what your email(s) might look like if many of your servers fall below the low-disk threshold you configured:
Notes
Sending Emails: SMTP Plugin
Your WPCloudDeploy site might need an SMTP plugin installed before emails can be sent. We recommend the FLUENT SMTP plug for this purpose.
Multiple Alerts
You will likely receive multiple alerts every evening if the free disk space on a server falls below the level you specified. This is because the alert conditions are evaluated when callbacks are executed and then again when security updates are applied.
Real Time Alerts
- You can setup real-time disk space alerts using MONIT located on the HEALING tab on a server. But this requires a lot more effort and needs to be configured for every server.
- Other options you can use to monitor free disk space in real-time include Netdata.
Requirements
WPCloudDeploy 5.3.1 or later is required
More Topics In Articles
- A Guide to SPF, DMARC & DKIM for WordPress
- WordPress POST Object Attributes and Variables
- Our Release Cycle: Fast Ring & Slow Ring Releases
- Sizing Your WordPress Servers
- Deployment Options For WPCD
- Add Your Existing SSH Key To A Root User Account
- All About WP Crons
- Identify The Largest Files In The WordPress Uploads Folder
- Identify The Largest Sites On Your Server
- Identify The Largest Backups On Your Server
- SSL Rate Limits
- Unable To Create Files (Even With Available Diskspace)
- Managing Linux Updates
- How To Lock A Linux User
- All About Ubuntu LTS Versions
- Rapid Reset HTTP/2 & WPCloudDeploy
