You can use just about any backup & restore plugin or service to move sites from other hosts to WPCloudDeploy and WPCD.Cloud. Generally, we recommend UPDRAFT PLUS for importing sites which provides a lot of flexibility but it can sometimes be a little complex for newer users.
Migrate Guru on the other hand can be dead simple at the cost of flexibility and privacy. It’s a free service from BlogVault and is a great alternative when you want to just quickly migrate everything to a WPCloudDeploy site.
Pros
- Ease-of use
- Free
- Handles large sites
Cons
- Slow (sometimes)
- Privacy (since they store a copy of your data on their servers)
Tutorial
Step 1: Install a Blank WordPress Site on your WPCloudDeploy Server
- Use the INSTALL WORDPRESS button to install a blank WordPress site on your WPCloudDeploy server. You can use any temporary or sub-domain that you have access to – we will be changing the domain to the real domain later.
- If you have not integrated CloudFlare, update your DNS to point to the new site.
- Navigate to the new site to make sure that it is accessible in your browser.
Step 2: Install the Migrate Guru Plugin On The Source Site
- Go to the PLUGINS → ADD NEW screen on the site you want to migrate.
- In the search box on the upper right, enter “migrate guru”.
- One of the options that should pop up should be “Migrate Guru: Migrate & Clone WordPress Free”. Click the INSTALL NOW button.
- Once installed, click the ACTIVATE button (which will have replaced the INSTALL NOW button.)
At this point you should be at a screen that looks like this:
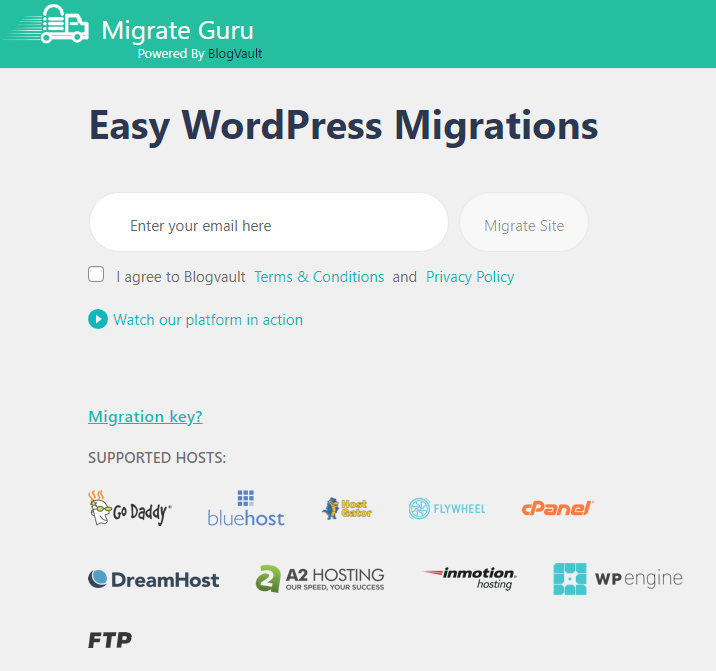
Enter your email address, click the checkbox to agree to the BLOGVAULT terms of service and then click the MIGRATE SITE button.
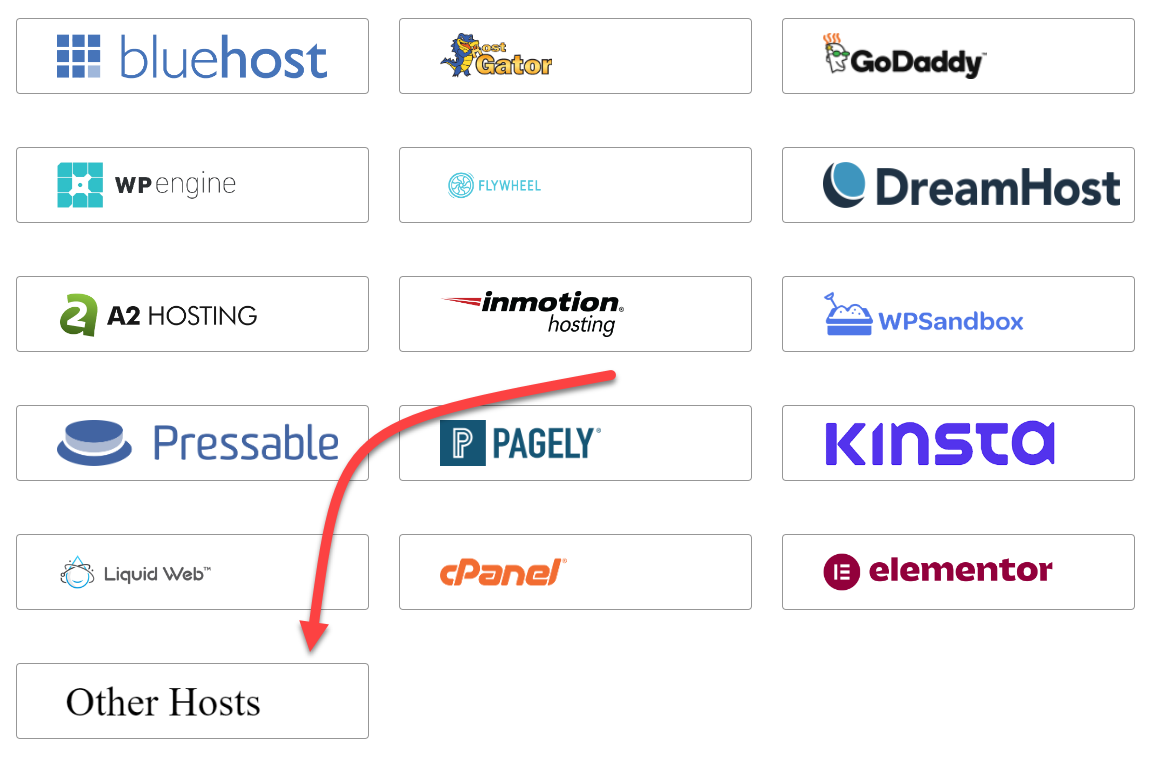
You will then be taken to the BLOGVAULT website (mg.blogvault.net) where you will be presented with a choice of hosts. Select OTHER HOSTS at the bottom of the screen.
Next, you will see a screen that looks like this:
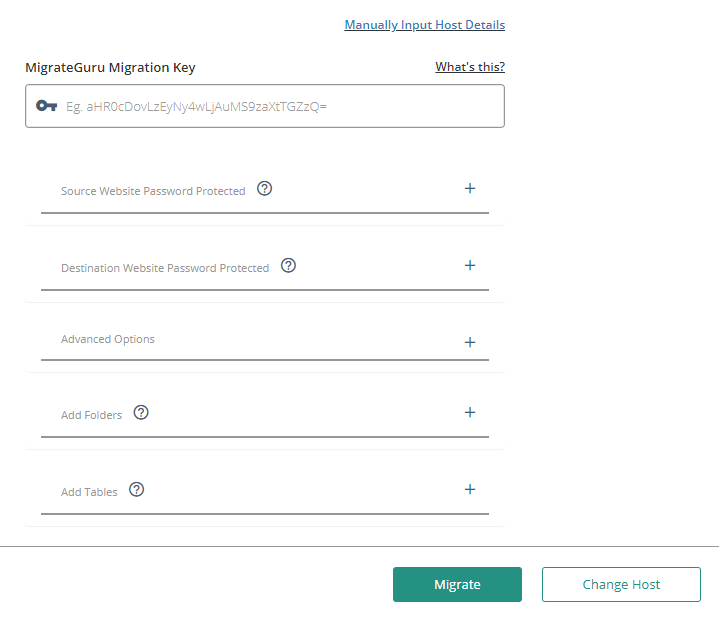
The key piece of information you’ll need for this screen is the MIGRATEGURU MIGRATION KEY. But, of course, at this point you don’t have one. So leave this screen up and open up a new tab in your browser.
Step 3: Install the Migrate Guru Plugin On The WPCloudDeploy Site
- In a new tab in your browser, navigate to the PLUGINS → ADD NEW screen on the WPCloudDeploy site you created in step 1.
- Once again, we’ll be installing the MIGRATE GURU plugin. So, in the search box on the upper right, enter “migrate guru”.
- One of the options that should pop up should be “Migrate Guru: Migrate & Clone WordPress Free”. Click the INSTALL NOW button.
- Once installed, click the ACTIVATE button (which will have replaced the INSTALL NOW button.)
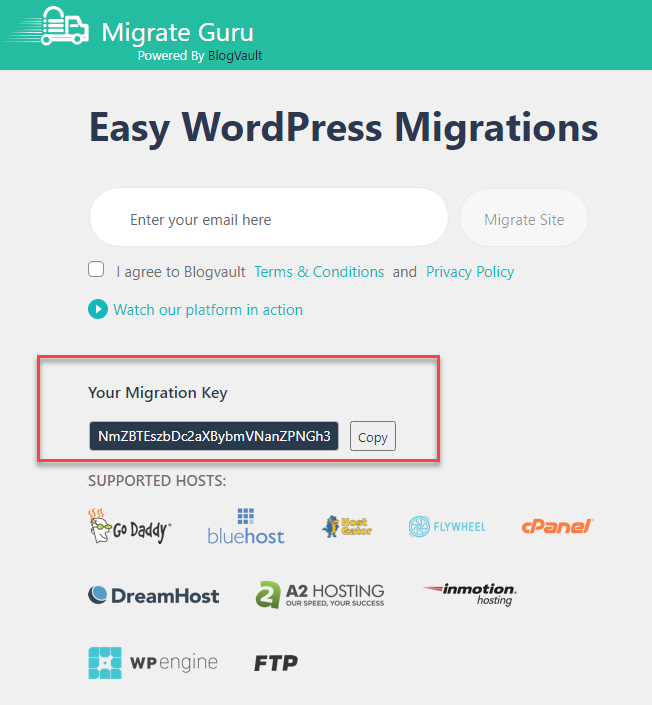
As with Step 2, you’ll see the following screen – but the item you’ll need from this screen is the MIGRATION KEY link.
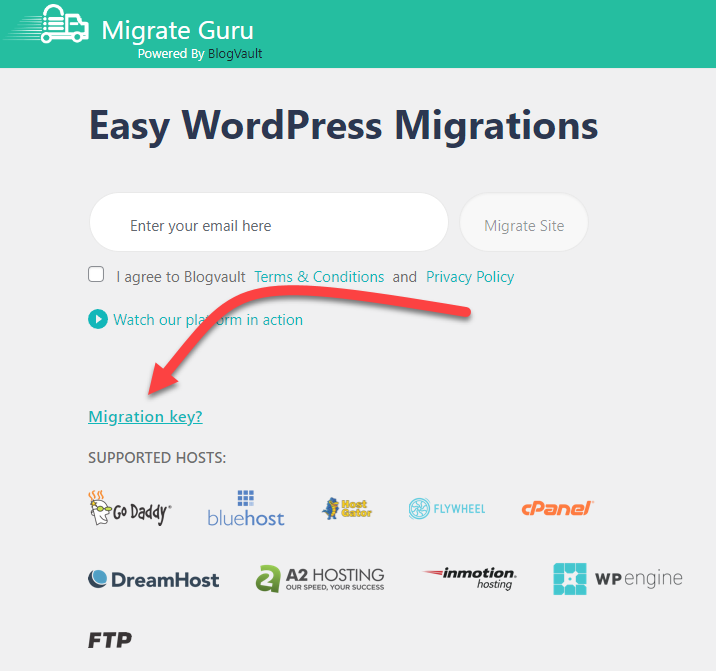
When you click that link you’ll see a long string of text which is the key. Click the COPY button to copy it to your clipboard (or highlight the text and use CTRL-C).
Step 4: Continue With Migration on Source Site
- Switch back to the tab with the source site (the one you left open from step 2)
- Paste the key from step 3 into the MIGRATEGURU MIGRATION KEY field (the first field).
- Click the MIGRATE button at the bottom of the screen
At this point you should see some ‘waiting’ and ‘validating’ messages. After a minute or two you’ll see the migration screen with progress bars.
You can walk away now because it might take a while to complete.
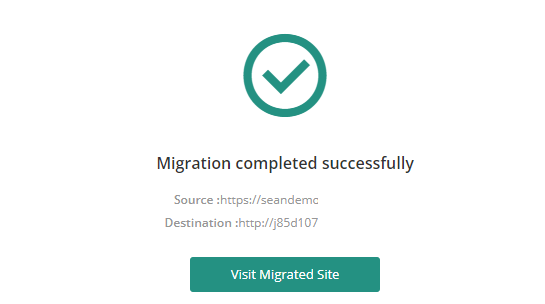
Eventually, you’ll receive an email that lets you know the migration is complete. If you’re still looking at the migration screen, it should change to something that looks like this:
Step 5: Change Domain in WPCloudDeploy
After the Migrate Guru process is complete, the data should be in your WPCloudDeploy temporary site. But it is now under the temporary domain. So you need to change the domain back to the original:
- In WPCloudDeploy, navigate to WPCloudDeploy → ALL APPS
- Scroll down to the new site you created in step 1
- Click the TITLE link
- Click the CHANGE DOMAIN tab
- Enter the domain of the original site and click the FULL – LIVE button.
Step 6: Point Your DNS To the WPCloudDeploy Server
After you’ve run through the CHANGE DOMAIN in step 5, you need to update the DNS for the domain to point to the IP of the WPCloudDeploy server where the new site is located.
Once that change has propagated (it should be instantaneous if you’re using CloudFlare), you should be able to login to the migrated site.
Notes and Tips
You can run multiple migrations simultaneously.
If you’re trying to move all sites from a source server or host to a new WPCloudDeploy server, you can use the WPCloudDeploy BULK DEPLOY option (WPCD Premium option) to quickly create a bunch of temporary sites on the WPCD server. Then use MIGRATE GURU to initiate a transfer from the source sites to these temporary sites – you can initiate multiple migrations and let MIGRATE GURU handle them in the background for you.
Custom WP-CONFIG Entries
It is possible that the source site might have custom entries in wp-config.php. If that’s the case you’ll need to manually move those over.
Privacy
As mentioned earlier in this article, a copy of your data is temporarily stored on the BLOGVAULT servers. They state that it is deleted within 24 hours but, if you’re migrating sites with sensitive data, this might not be the best option.
Was This Article Useful? Or do you have questions or comments about it (or our products & services)? We'd love to hear from you!
Automatic Notification Of New Articles
Sign up to get automatic notifications of new articles. This is a different list than our standard list - you only get new articles once a week (usually on Mondays). No other emails will be sent unless you sign up for our general list as well.
Follow us on Twitter! We post a lot of cool things there first. To keep up, click the "X" below!